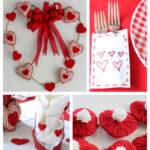
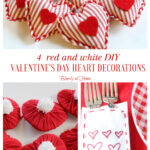
4 Red and White DIY Valentine’s Day Heart Decorations
Do you love hearts? Do you like red hearts? Do you like red and white hearts that you can make yourself? Good, because I have 4 red and white DIY Valentine’s Day heart decorations that you can easily make for your own Valentine’s celebration.
Obviously, you don’t have to make all 4 of these red and white DIY Valentine heart decorations. Just one will do. But I aim to give more than you ask for. Underpromise and overdeliver!!
These DIY Valentine’s Day heart decorations are so easy, one of my DIY project requirements. These projects are great to do while watching your favorite TV shows.
With Valentine’s Day now less than a month away, if you need ideas for decorations, then stick right here, because I’m going to share a bunch of great projects with you.
Once a great DIY project, always a great DIY project. I made these 4 heart decorations a few years ago. They are still just as cute today as they were then. It was time to share them again.

As it turns out, all four of these red and white DIY Valentine heart decorations were prompted by a red and white Valentine tablescape. They all just fell into place for my tablescape theme and colors. Once I started, I couldn’t stop.
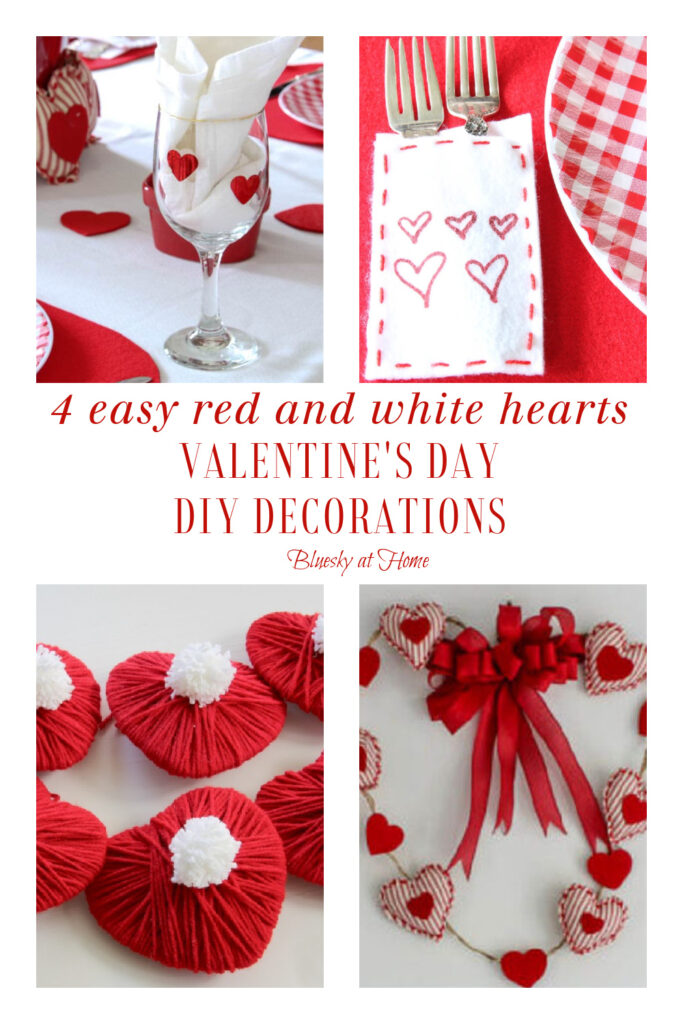
I’m sharing four easy red and white DIY Valentine’s Day heart decorations today, but, in case you missed this one, see the pom~pom and heart garland that started this entire heart DIY saga.
My heart is beating fast: although my heart leans to pink, these red and white hearts are perfect for Valentine’s Day decorating.
Valentine’s Day Heart Decorations: 4 Red and White DIY Projects
Heart Decoration Project Number 1 ~ Yarn and Wood Red Hearts
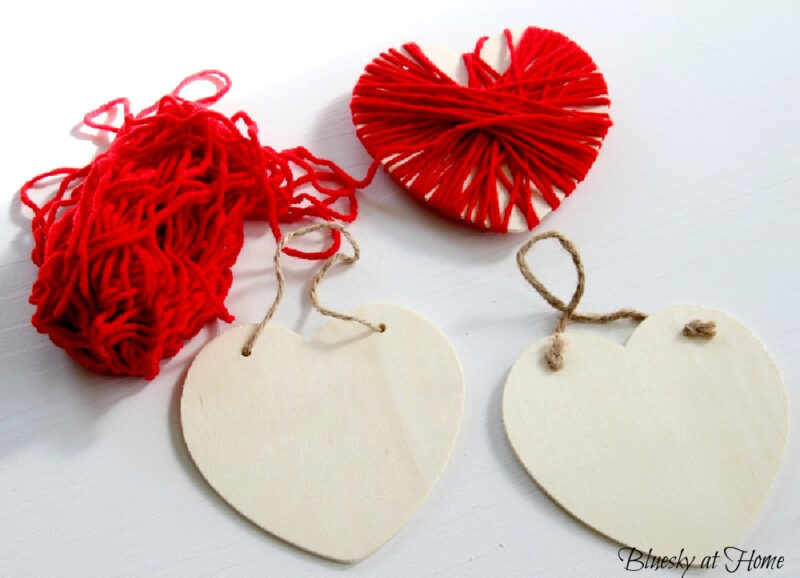
Several weeks ago at Joann (Sometimes, I should just bring a tent and a bedroll and sleep there.), I saw these 6 wood hearts with a jute twine tie for $1.49 each. I bought all 6 of them. They are about 4 1/2 inches wide.
I really intended to paint them. After seeing another project on Pinterest,(wrapping yarn around a small cardboard heart), I changed my mind.
You need 2 simple items to make these wood and yarn hearts:
- wood hearts (or use cardboard)
- yarn in the color of choice


Step 1 – Remove the jute twine hanger.
I already had one skein of red yarn, but I bought another one just to make sure I had enough.
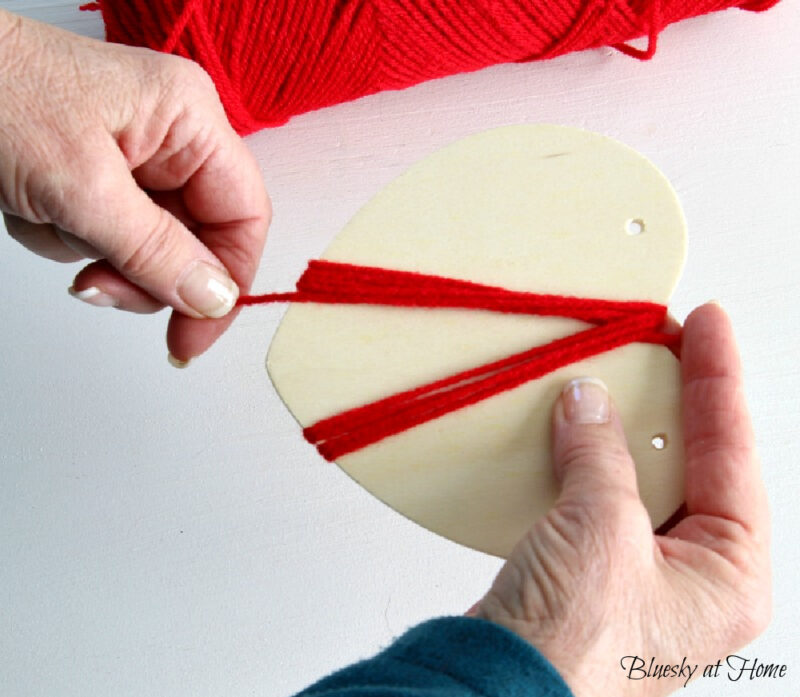
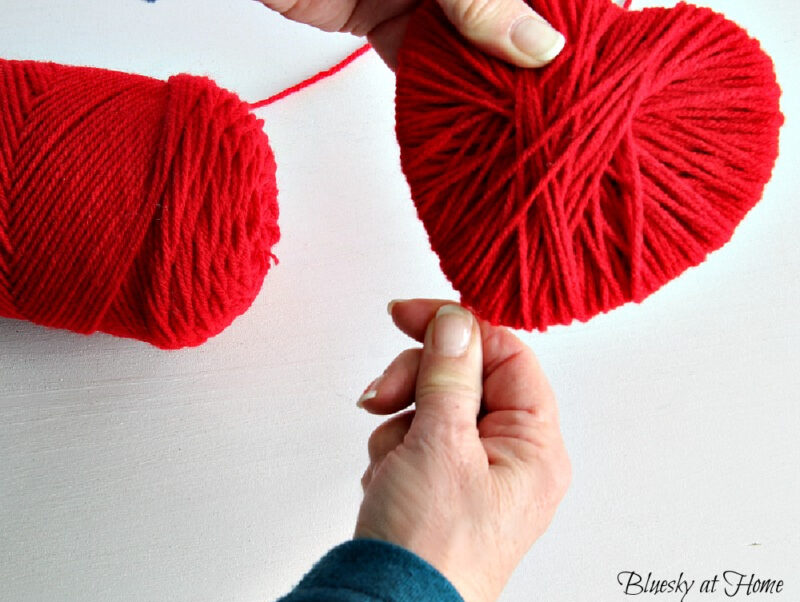
Step 2 – Begin wrapping the heart with your yarn. For my first heart, I wrapped the yarn in a haphazard manner.
For my next heart, I was more methodical. Holding about 3 inches of yarn in between your index and middle fingers, start in the center of the top of the heart, and wrap the yarn around the heart at the bottom.
TIP: Keep the yarn taut as you wrap.
Step 3 – Working from the center out, add a new line of yarn next to the previous one. Just keep going until you have completely covered the heart. It does take a lot of yarn and it will get thick in the center, which gives it a puffed look that I liked.
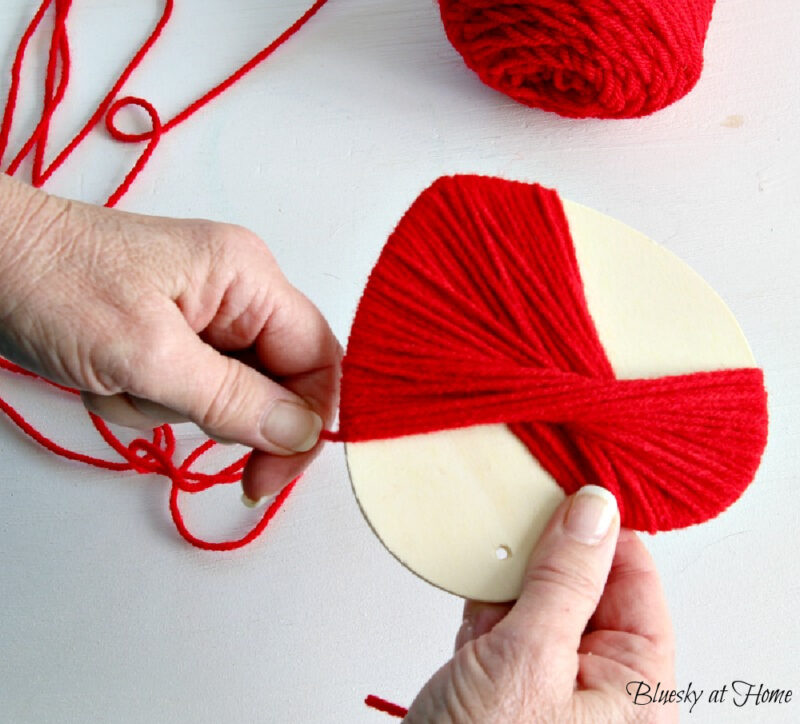
Keep wrapping.
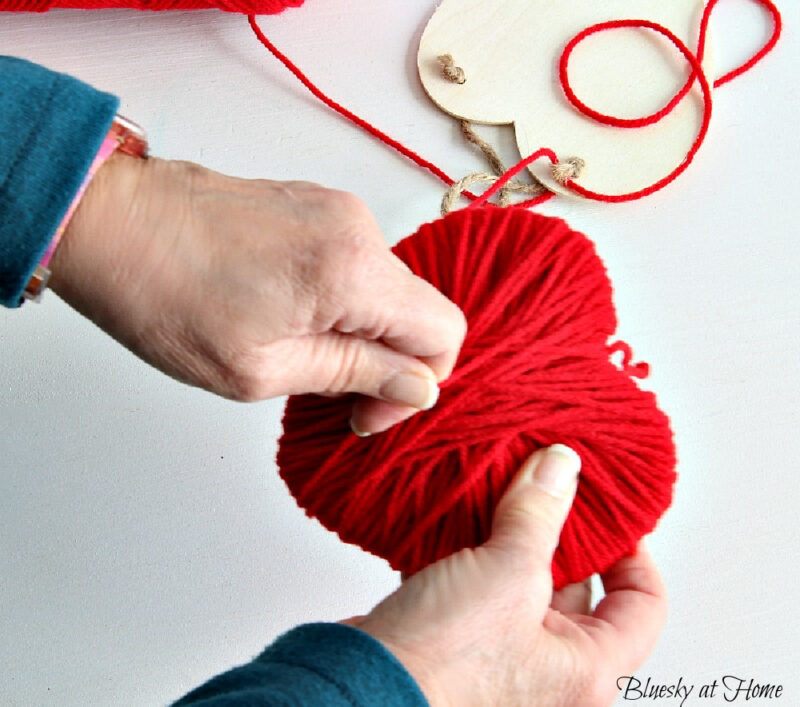
And wrapping. When the wood is completely covered and the center of the heart is puffed, you’re almost done.
Step 4 – When you are finished wrapping, loop the end of the yarn through several pieces of yarn on the back of the heart. You can then tie it to the yarn that you started holding at the beginning. I didn’t cut the excess off yet.
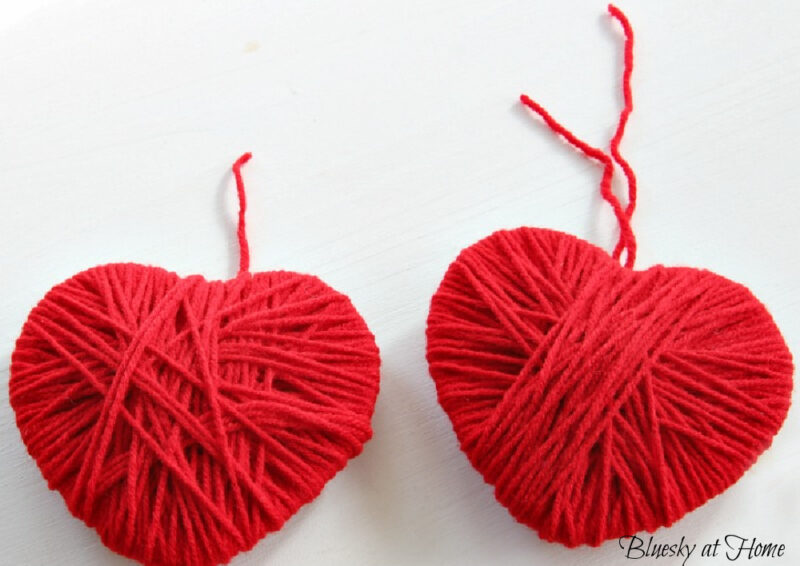
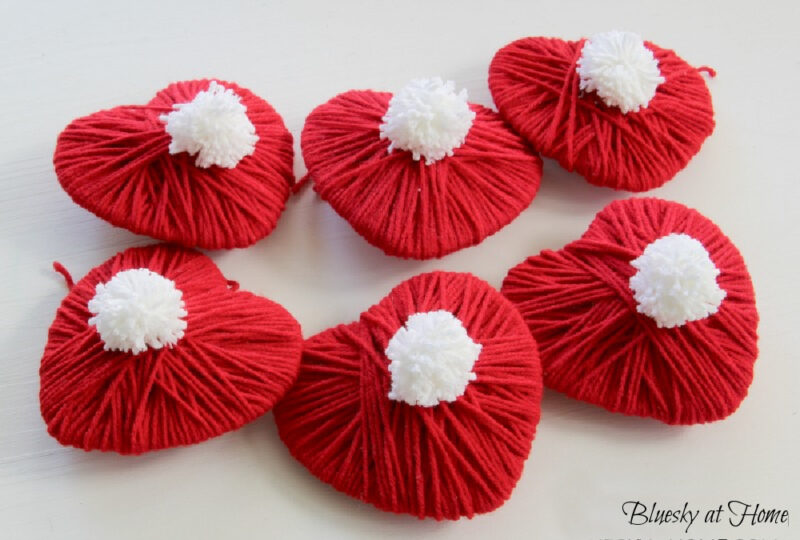
Now I had 6 red yarn hearts. I thought they were really cute but needed a little pop of color.
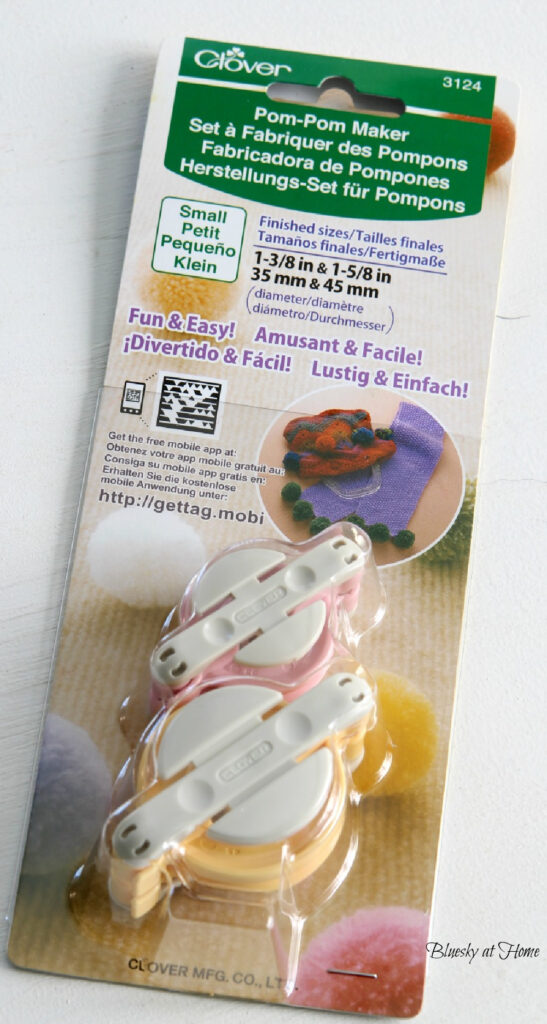
Step 5 – (This step is optional.) I had plenty of white yarn left so I used the smallest pom-pom maker I had – 1 3/8 inches – to make 6 small pom~poms. Being so small, these went really fast.
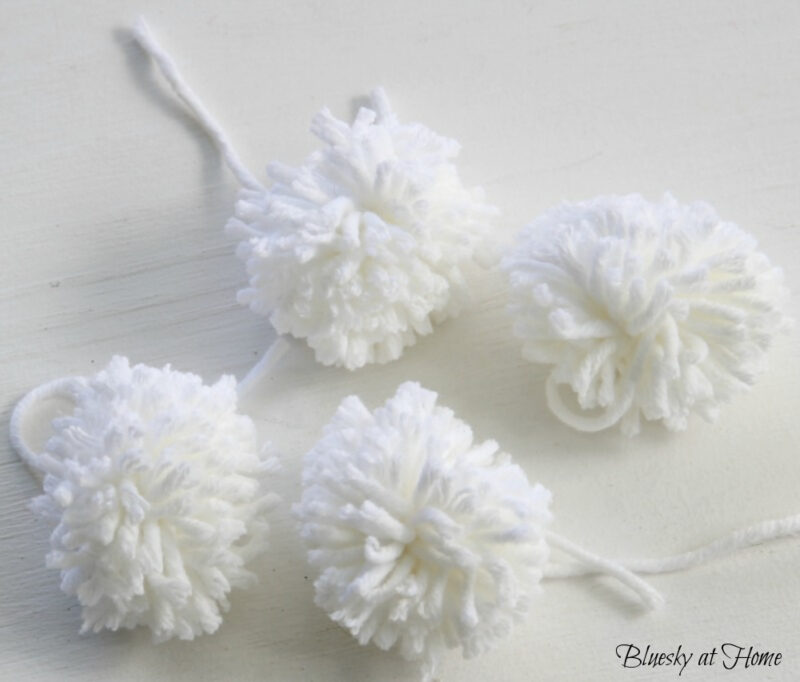
Step 6 ~ Attach the small white pom-poms to the large red hearts. I used another piece of white yarn to tie the pom-poms to the red hearts.
They are so stinkin’ cute.
OPTIONAL IDEA: Cut out small hearts from white felt and glue them to the front of the red yarn heart.
Step 7 – Use more red yarn to string the hearts together by threading a large needle on the backside of the hearts.
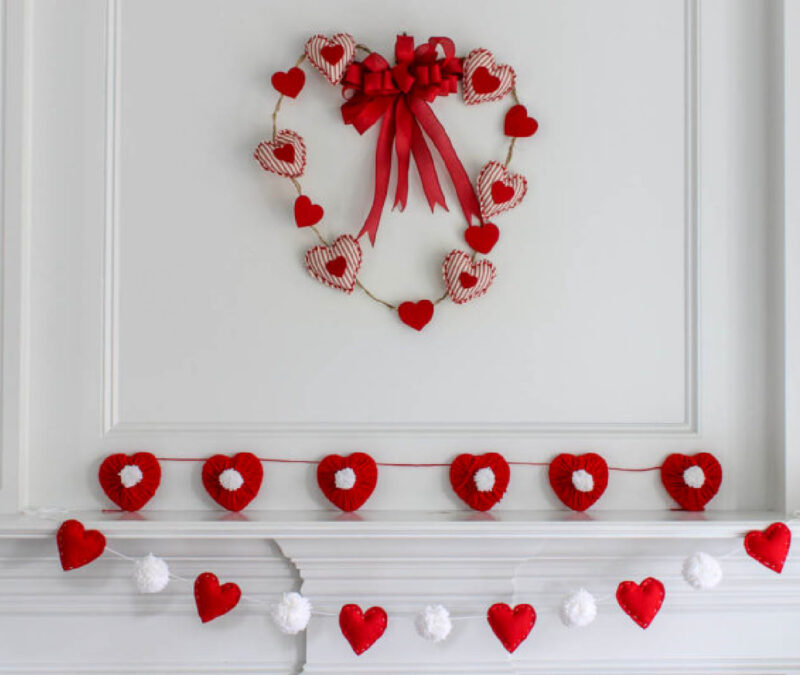
Step 8 – Hang your heart garland. Sweet Shark helped me hang and adjust my new red and white DIY heart garland.
After I finished the wood and yarn hearts, I wasn’t sure exactly what I was going to do with them. Then I thought, how about another garland to go with my pom~pom and heart garland on the mantel? Paired with the heart Valentine wreath the garlands make quite a statement.
What an easy project with a big impact. And it all started with wood hearts and red yarn.
Heart Decoration Project Number 2 ~ Fabric and Yarn
On another trip to Joann, I asked if they had grain sack fabric. They did not, but I spied this red and white ticking fabric (It’s called mattress ticking.) which gave off the same vibe.
I bought 1 yard. This fabric is normally $10.49 a yard but was 50% off so my cost was $5.25.
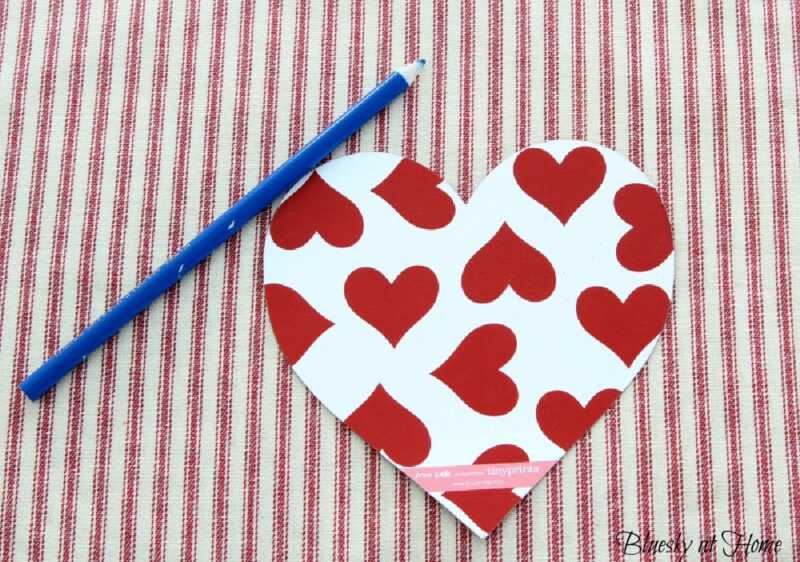
I have had a few of these large thick paper hearts for a few years. I literally picked them up at a store that was using them as an advertisement for an upcoming store event. I used them as my pattern.
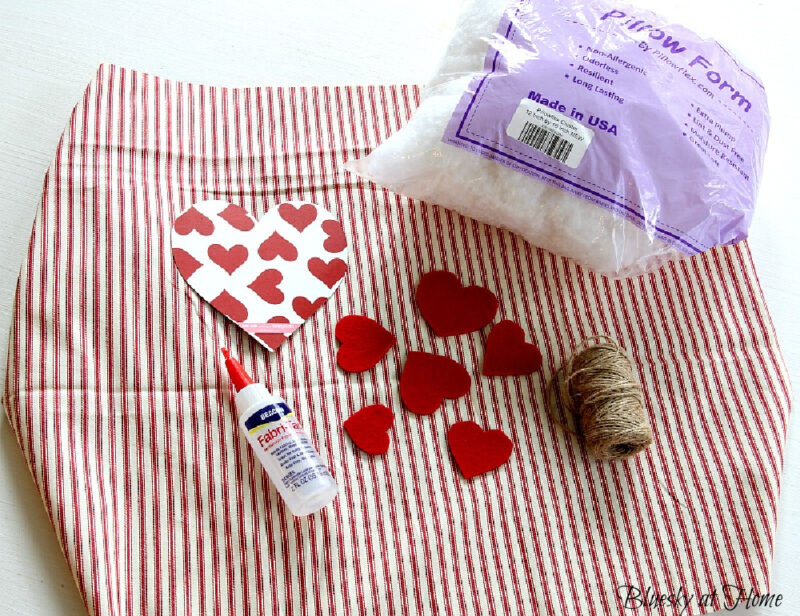
Supplies for the ticking hearts:
- Fabric of choice; hopefully, a design and color that lends itself to Valentine’s Day
- Heart template
- Pencil
- Sewing scissors
- Small felt hearts
- Fabric glue
- Batting
- Yarn in color of choice and needle
I still had plenty of batting from my felt heart garland project. The small red felt hearts were also left from last year. I did remember to buy fabric glue. I also pulled out a roll of jute twine, just in case.
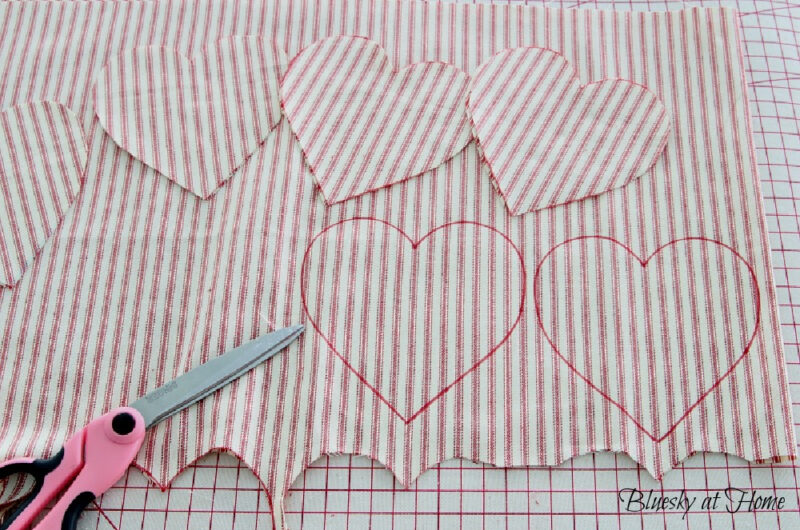
Step 1 – Fold the fabric, right sides together, and trace around 6 hearts.
Step 2 – Cut out the hearts. This gives you 12 hearts in total.
Step 3 – Glue a red felt heart at the center of 6 of the fabric hearts.
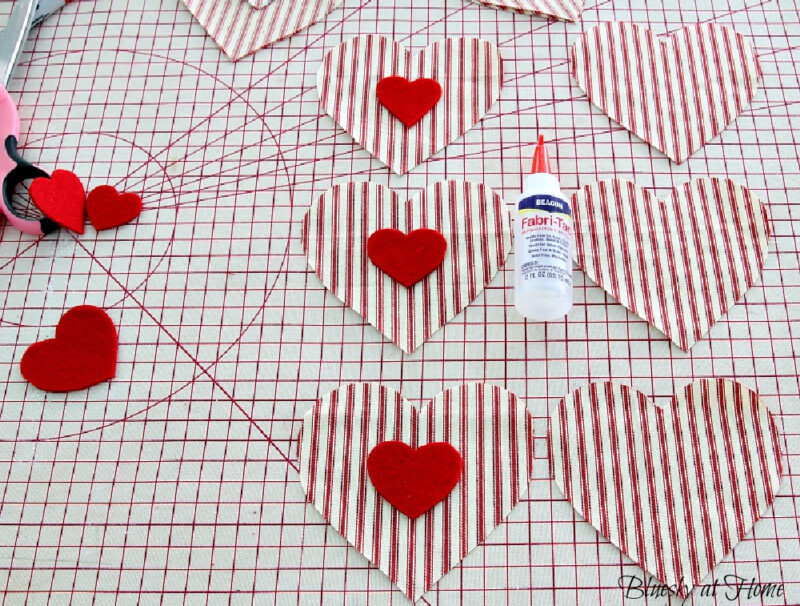
Step 4 – When the felt hearts were securely attached to the fabric hearts, place 2 fabric hearts right sides together.
Step 5 – Starting on one long side, sew the 2 fabric hearts together with yarn, leaving about 3 inches open. The hardest part of this job was threading the yarn through the needle!
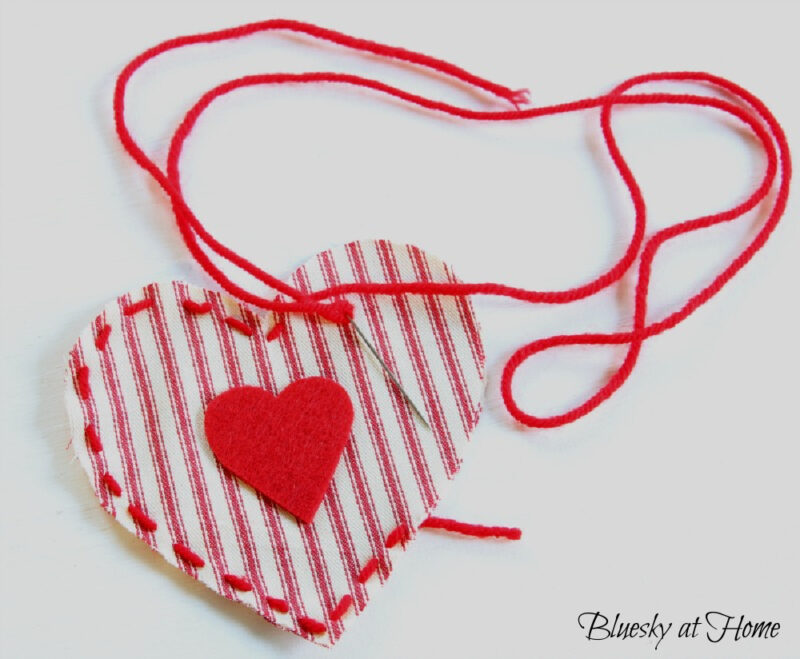
Step 6 – Fill the hearts with batting and sew up the open side.
TIP: Use your fingers to push the batting into the rounded tops and the pointed end.
You may need to shake or move the batting around to evenly distribute it inside the heart.
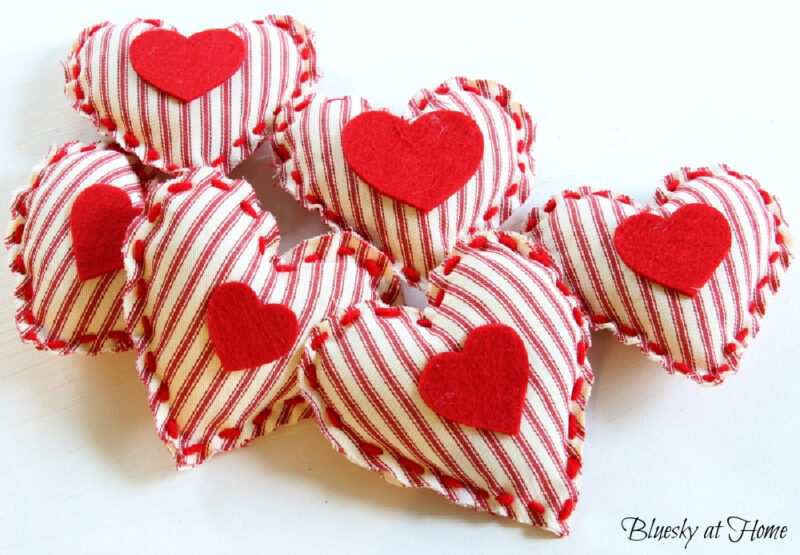
Tie the ends of the red yarn together and cut off the excess.
Aren’t these red and white DIY Valentine’s Day heart decorations so cute? I left the raw edges of the fabric exposed for a rustic, farmhouse feel. I love how puffy and full they are.
What to do with these sweet DIY hearts? Three ideas came to mind:
- make them into a garland
- make them into door hangers or sachets
- make them into a wreath
I didn’t think I needed another garland, although they would be super cute strung with red yarn.
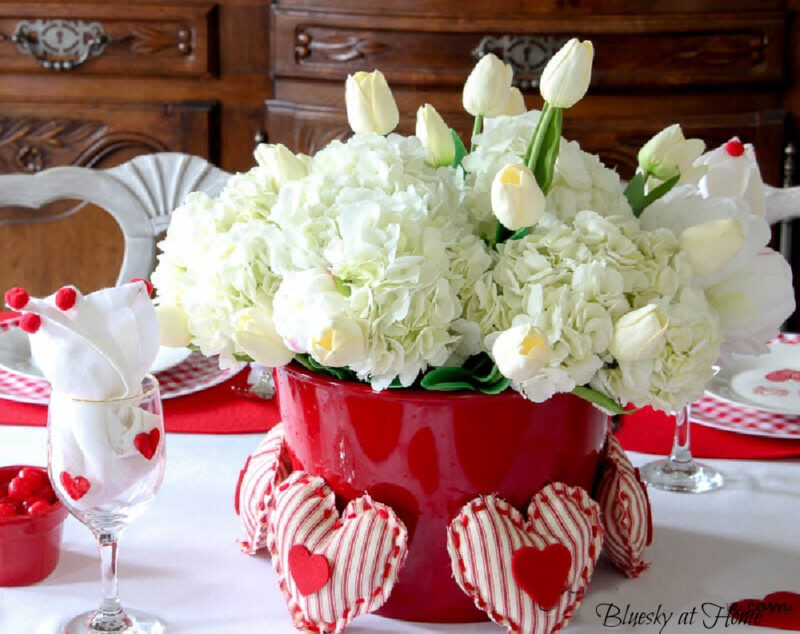
I placed the hearts around the base of my red centerpiece container on my Valentine’s Day table.
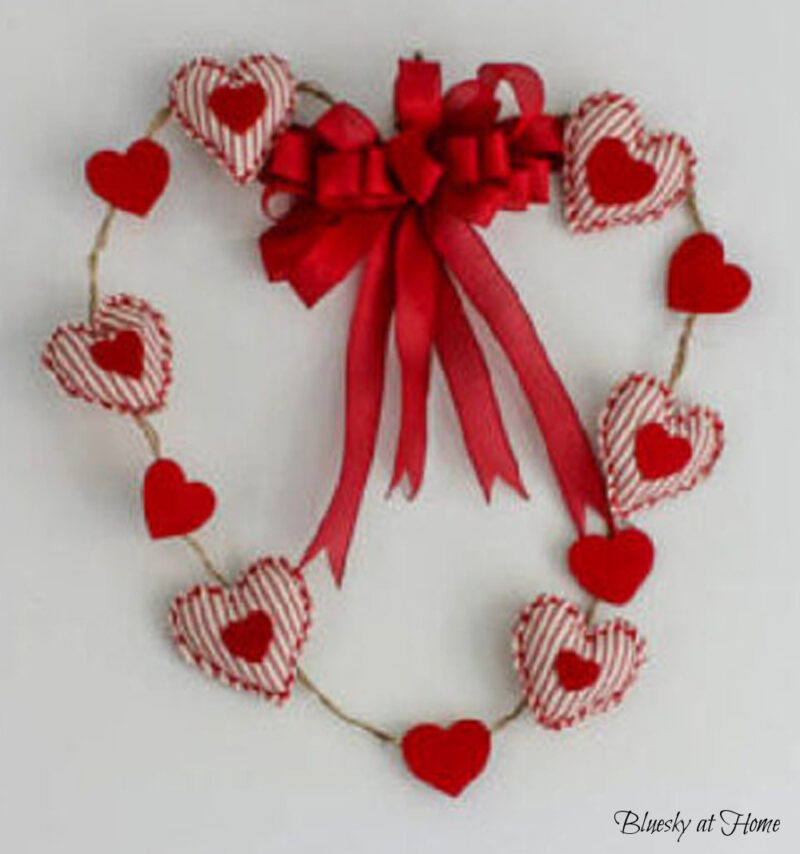
Then, I used them to make a second Valentine’s heart wreath that you saw in the image above.
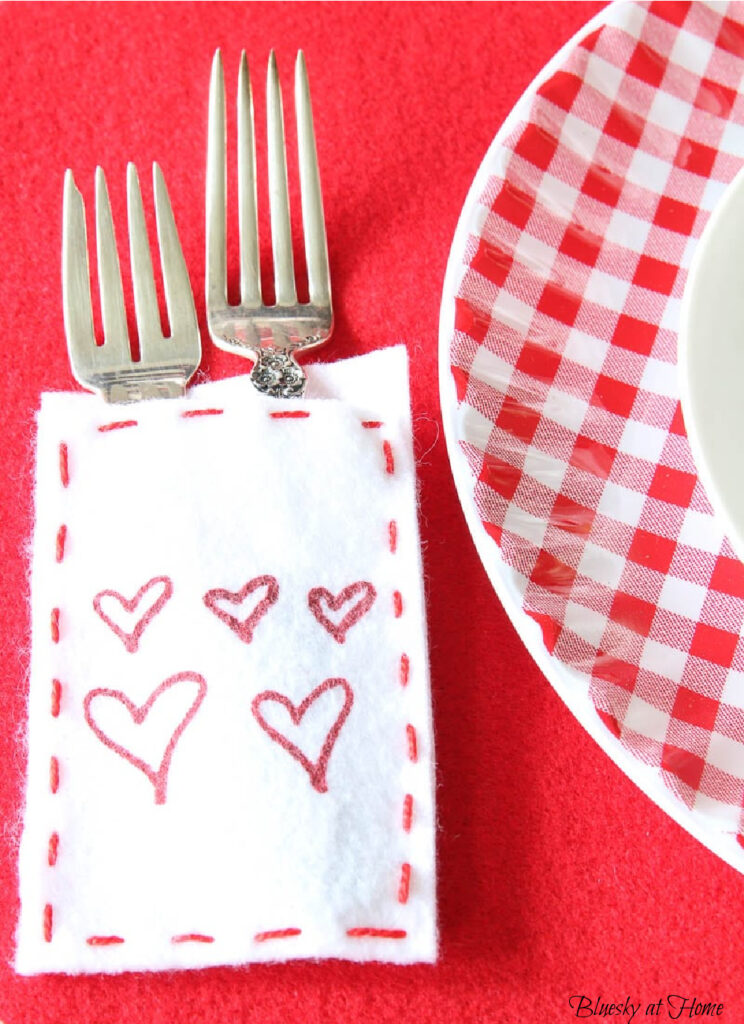
Heart Project Number 3 ~ Silverware Caddies
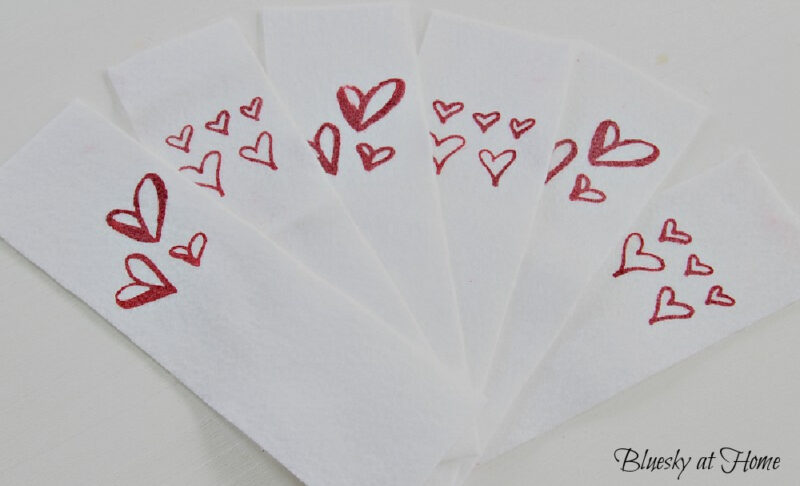
Last year for our Valentine’s Day tablescape, I planned to make silverware caddies from 3 1/2 x 8-inch pieces of white felt.
NOTE: You can use 9 X 12-inch or 12 X 18-inch pieces of felt to measure and cut the strips.
I used Gel Art Ink and Valentine stencils from A Makers’ Studio for a Valentine’s design.
For whatever reason, I didn’t finish making the silverware caddies last year, but I found them in my Valentine’s decorations box so I knew I had to use them this year.
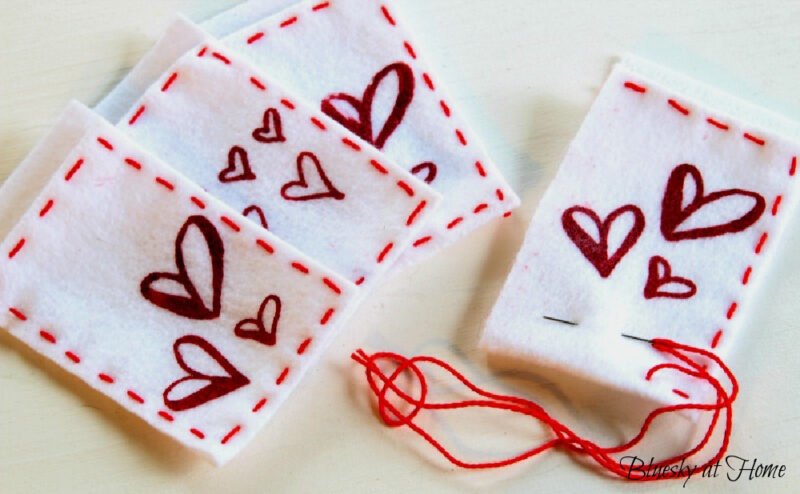
I turned the top of the felt over 1/2 inch and then folded the felt to make the caddy. I used red embroidery thread to sew the caddies.
I made a 1/4-inch stitch all around the caddy.
Another TV project!!
Here’s how they turned out on my Valentine’s table.
Here’s another project showing you how to use Gel Art Ink on fabric.
Heart Project Number 4 ~ Red Vinyl Hearts
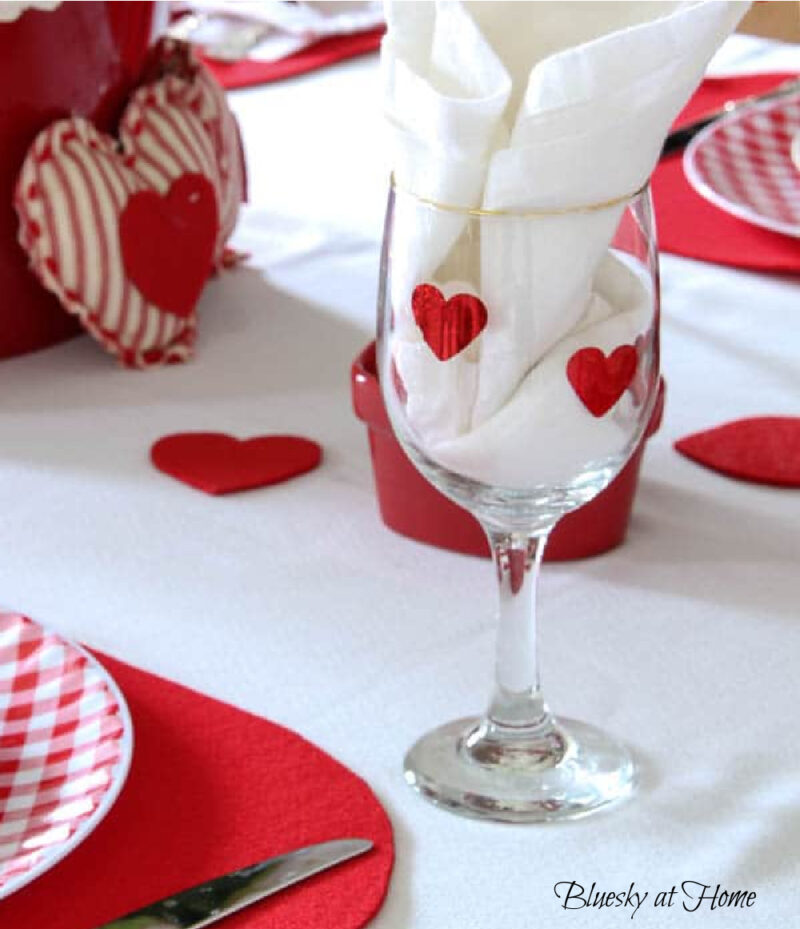
This last little heart project is so easy, I hesitate to call it a project, but I hope it will give you inspiration. I love to embellish my Dollar Tree wine glasses with a fun design to tie them to the theme of the table. I’ve done this before with stars.
For this little heart project, you need 2 things:
- adhesive vinyl from Cricut in your color of choice and a heart punch. I already had some shiny red holographic vinyl.
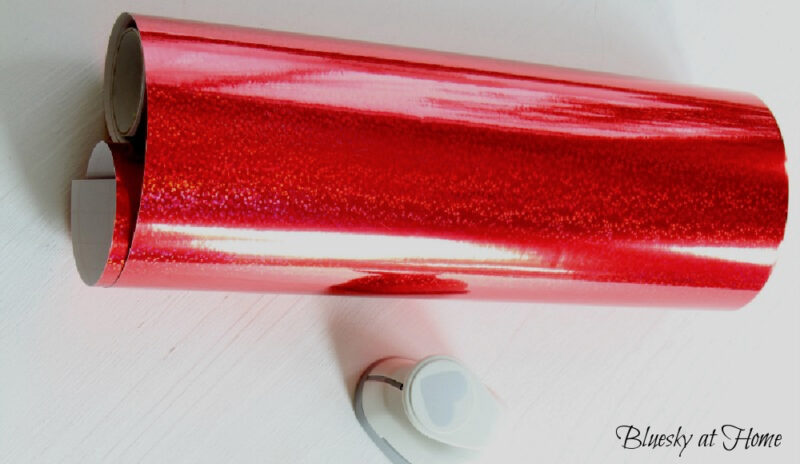
- a heart punch – I used my 1-inch heart punch so this project basically cost me nothing. Just start punching out hearts until you have as many as you need. I wanted 5 – 6 hearts per glass so I needed at least 30 hearts.


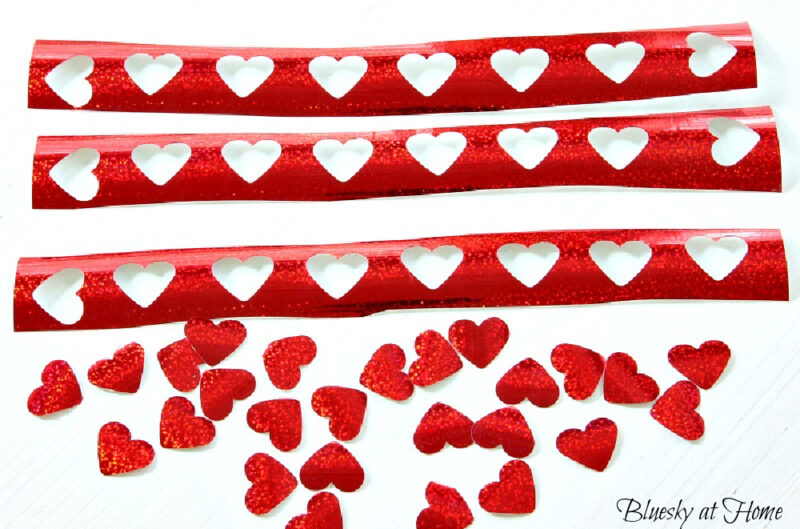
TIP: DO NOT throw away the punched-out vinyl. I’ve used it before as a stencil template.
All you have to do is stick your heart stickers on the glasses and you are done!
Here’s another example of using stickers for Valentine’s Day.
Be sure to check out to use these 4 DIY Valentine’s projects in a Red and White Tablescape.
That’s my 4 red and white DIY Valentine’s heart decorations. I’ve used all of them more than once in different ways.
Which one did you like best? Which one (ones) would you make? I hope you’ll PIN this post so you’ll remember all 4 of the Valentine’s Day heart projects.


I (NOW) always have a stash of large eyed upholstery needles so I can thread yarn through easily. One easy way to thread the needle is to make sure yarn has a good blunt end, pinch it between thumb and forefinger with very little sticking out between. Then, cram the eye of the needle onto the exposed end. Works well for me. Just saw a video where they draped a sewing thread onto a toothbrush. Then they pushed the eye of the needle down onto the bristles. The bristles pushed the thread up through the eye; haven’t tried it yet. I just buy large-eyed embroidery needles and give the small-eyed ones away! In a pinch when you are only using a “needle” to thread yarn through something, not sew, I use a piece of floral wire or pipe cleaner, bent in half, yarn inserted in the middle at the fold like an eye. Twist the wire several times so that you have a “pointed” end. Good for kids threading beads!
I love these ideas, especially the red ticking hearts!
Carol these are all so cute! I don’t think I can pick a favorite! I’ve been looking for something to fill my dough bowl for Valentine’s Day and I love the hearts wrapped in yarn <3
Thanks for sharing this, it sure looks very useful.
Such cute projects. Thanks for sharing.
Carol, so many pretty ‘hearty’ ideas ! You’re all set for Valentines 😉
Thank you for sharing your ideas with us at Meraki Link Party.
Have a wonderful week
Naush
Cute projects, Carol. Thank you for sharing at Party In Your PJ’s.
Your Valentine creations are so cheerful; I find that I need cheerful this time of year; Maine winters are just TOO long, cold, and dreary. Cheerful is a good thing!
Oh my goodness! These are all so cute! I love the garland so much. 🙂
All so bright and cheerful!
I can’t decide which one I like best! Maybe the red ticking fabric hearts….all great inspiration for V-Day! Thanks for sharing at Vintage Charm. Pinned! xo Kathleen
I love all of these ideas! I especially love the yarn wrapped hearts! I need this garland in my life!
Wow! what a great Valentines tablescape and that banner!
i just love it all !! great job here it all looks like a whole lot of loving going on!!
Teresa!!!
I love the display of your 2 banners together. Screams Valentine’s Day!! So fun!
These are so sweet. TFS I love them.
You are for sure all ready for Love day ❣️! I love all of your Hearts!! They all turned perfect.
Such sweet ideas for Valentine’s Day! I love how you used red and white on all of them!
Girl, when do you find the time to do ALL that you do?! You amaze me with your craftiness and talents. Love these ideas. Pinned!
What a treat you brought us today! I have to say I love them all! Your table looks amazing and the banners are so impressive. I love the red wrapped hearts with the white pompoms. I am just in love with it. Thanks for sharing.
Carol all of your hearts are so cute. I especially love the stuffed hearts…. the prettiest ones I’ve seen. And in a head slapping, I can’t believe I didn’t think of doing this moment -using vinyl on the glasses… well, it’s genius! I have a ton of vinyl and even more wine glasses. Love all of your projects.
I love all of your heart decorations!!!
These are all so pretty! I love the silverware caddies.
I LOVE all four of your heart decorations, Carol, but I think the one made with the ticking fabric is my favorite! That farmhouse vibe is my thing and I would definitely fill them with lavender or another fave scent and use them as sachets! Your glassware is just the cutest too! Great ideas!
So many clever and amazing ideas! Love them all. Great job!